အားလုံးပဲ မင်္ဂလာပါ။ ဒီအပတ်မှာတော့ ယခင် sharing လုပ်ပေးခဲ့ဖူးသော “WordPress Custom Theme Basic Step” blog ကို ထပ်တိုးအနေဖြင့် ရေးသားသွားပါမယ်။
ယခင် blog မှာတော့ custom theme တစ်ခု ပြုလုပ်ရာမှာ အခြေခံရှိသင့်သော files များဖြစ်တဲ့ style.css၊ index.php၊ screenshot.png၊ functions.php တို့၏ တည်ဆောက်ပုံ အသေးစိတ် ရှင်းပြထားတာကို ဖတ်ရှုနိုင်ပါတယ်။
ဒီတစ်ခေါက်မှာတော့ WordPress site တစ်ခု ပြီးပြည့်စုံဖို့အတွက် လိုအပ်သော တခြား files များကိုဆက်လက်ပြောပြသွားမှာဖြစ်ပါတယ်။ Folder တည်ဆောက်ပုံကတော့ ယခင် blog တွင် ပြသသည့်အတိုင်း တည်ဆောက်သွားပါမယ်။
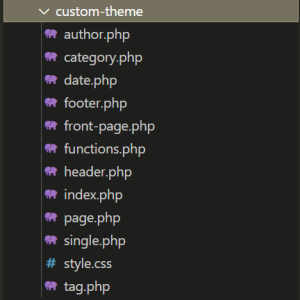
Figure (1) – Folder structure
ဆက်လက်ပြီး files တစ်ခုချင်းစီ၏ အသုံးဝင်ပုံများကိုရှင်းပြသွားပါမယ်။
1. header.php
WordPress site ၏ header (ခေါင်းစီး) ကဏ္ဍဖြစ်ပါတယ်။ ၎င်းတွင် <head> tag၊ meta tag များ၊ stylesheet များ၊ JavaScript ဖိုင်များ၊ နှင့် site logo များ စသည်တို့ ပါဝင်ပါတယ်။ WordPress template များတွင် header.php ဖိုင်ကို ထည့်သွင်းရန်အတွက် get_header() function ကို အသုံးပြုနိုင်ပါတယ်။
<!DOCTYPE html>
<html <?php language_attributes(); ?>>
<head>
 <meta charset="<?php bloginfo('charset'); ?>">
 <meta name="viewport" content="width=device-width, initial-scale=1.0">
 <title><?php wp_title('|', true, 'right'); ?></title>
 <?php wp_head(); ?>
</head>
<body <?php body_class(); ?>>

<header id="site-header">
 <div class="container">
 <div class="site-logo">
 <a href="<?php echo home_url(); ?>">
 <h1><?php bloginfo('name'); ?></h>
 </a>
 </div>
 <nav id="main-navigation">
 <?php
 wp_nav_menu(array(
 'theme_location' => 'primary',
 'menu_class' => 'nav-menu',
 'container' => 'ul',
 ));
 ?>
 </nav>
 </div>
</header>
2. footer.php
WordPress site ၏ footer (အောက်ခြေ) အပိုင်းဖြစ်ပါတယ်။ ၎င်းတွင် </body> နှင့် </html> ကဲ့သို့သော အပိတ် tag များ၊ အောက်ခြေ widgets များ ပါဝင်ပါတယ်။
Wordpress template များတွင် footer.php ဖိုင်ကို ထည့်သွင်းရန်အတွက် get_footer() function ကို အသုံးပြုနိုင်ပါတယ်။
<footer id="site-footer">
<div class="container">
<div class="footer-widgets">
<?php if (is_active_sidebar('footer-1')) : ?>
<?php dynamic_sidebar('footer-1'); ?>
<?php endif; ?>
</div>
<div class="site-info">
<p>© <?php echo date('Y'); ?> <?php bloginfo('name'); ?>. All rights reserved.</p>
</div>
</div>
</footer>
<?php wp_footer(); ?>
</body>
</html>
3. front-page.php
WordPress site ၏ Home page တွင်ပြသလိုသော အချက်လက်များကို front-page.php တွင်ရေးသားပါမည်။ if(have_posts()) ဆိုပြီး wordpress posts များရှိမရှိစစ်လိုက်ပါမယ်။ ထို့နောက် while() loop ဖြင့် posts များကို loop ပတ်ပြီးထုတ်ပြလိုက်ပါမယ်။ get_permalink() function ကိုသုံးပြီး post ၏ url ကိုထုတ်လိုက်ပါမယ်။ the_title() function ဖြင့် post ၏ title ကို ထုတ်ပြီး၊ the_content() function ဖြင့် post ၏ content များကိုထုတ်ပါမယ်။
<?php
get_header(); ?>
<main id="main-content">
 <div class="container">
 <?php if (have_posts()) : while (have_posts()) : the_post(); ?>
 <article>
 <a href="<?php echo get_permalink() ?>">
 <h1 class="page-title"><?php the_title(); ?></h1>
 </a>
 <div class="page-content">
 <?php the_content(); ?>
 </div>
 </article>
 <?php endwhile;
 else : ?>
 <p>No content is available for this page.</p>
 <?php endif; ?>
 </div>
</main>

<?php get_footer(); ?>
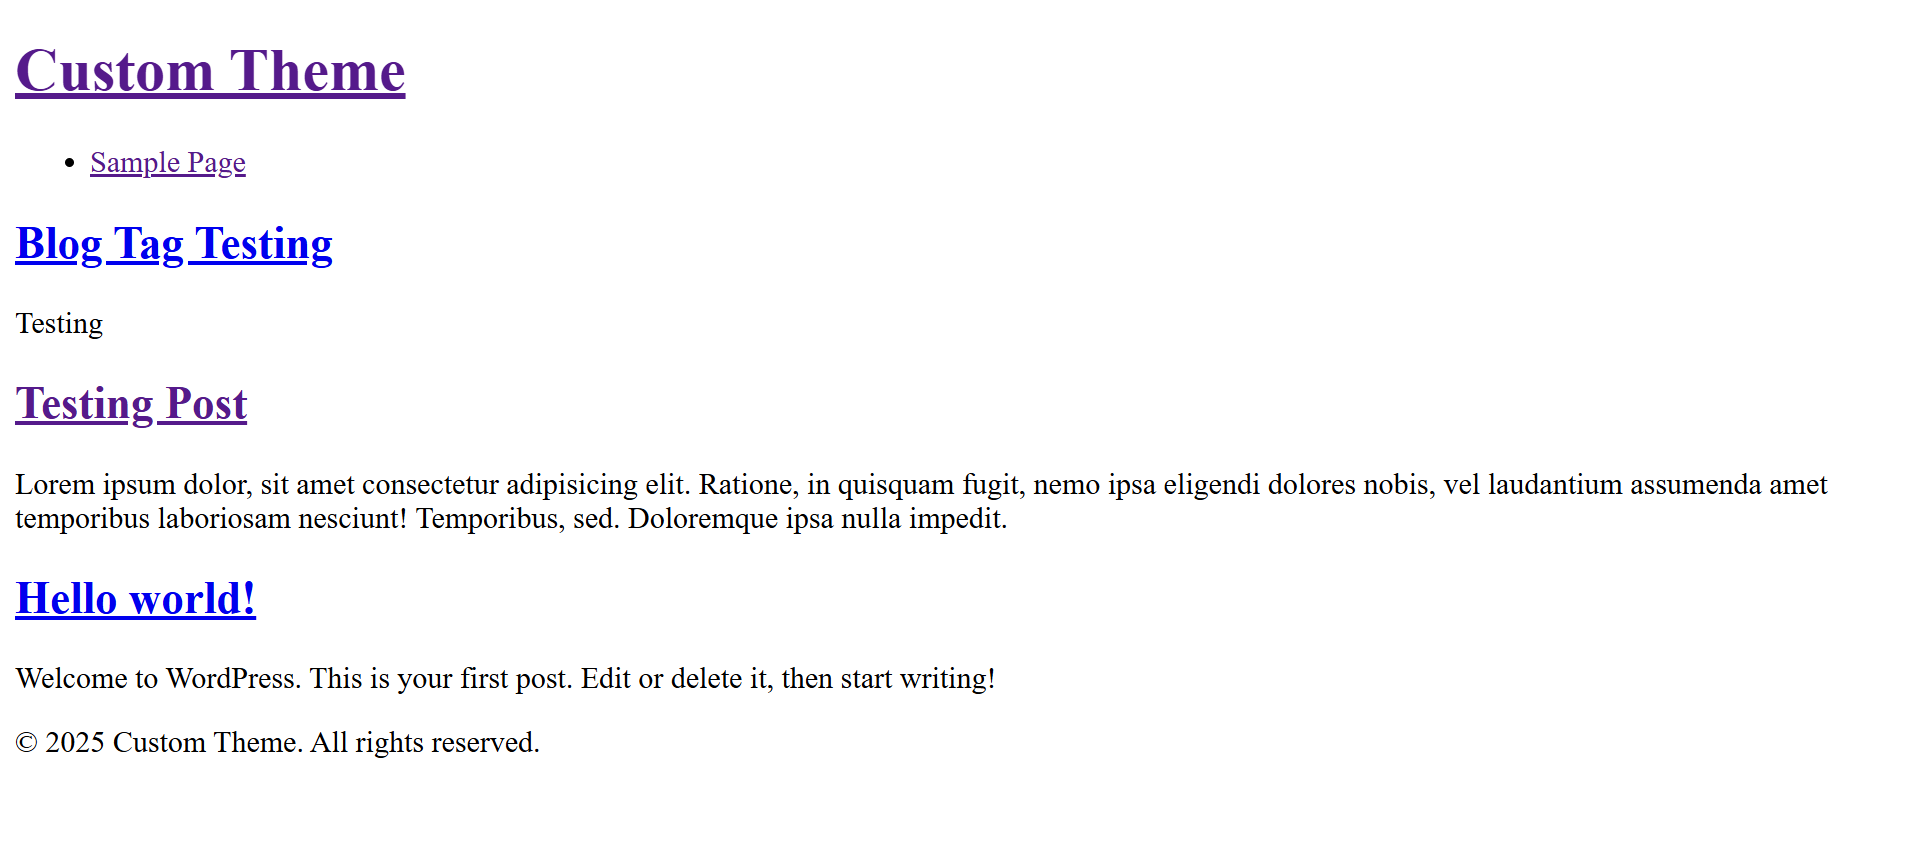
Figure (2) – Result of front-page.php
4. single.php
WordPress site မှာပါဝင်သော Post များ၏ အသေးစိတ် အချက်အလက်များကို ပြသရန်အတွက် အသုံးပြုပါတယ်။
<?php
if (have_posts()) : while (have_posts()) : the_post(); ?>
 <a href="<?php echo get_author_posts_url((get_the_author_meta('ID'))) ?>"><?php echo get_the_author(); ?></a>
 <a href="<?php echo get_day_link(get_the_date('Y'), get_the_date('m'), get_the_date('d')) ?>"><?php echo get_the_date(); ?></a>
 <h1>
 <?php the_title(); ?>
 </h1>
 <?php the_content(); ?>
 <?php
 $categories = get_the_category();
 foreach ($categories as $category) {
 echo '<a href="' . get_category_link($category->term_id) . '">' . $category->name . '</a>';
 }
 ?>
 <?php
 $tags = get_the_tags();
 foreach ($tags as $tag) {
 echo '<a href="' . get_tag_link($tag->term_id) . '">' . $tag->name . '</a>';
 }
 ?>
<?php endwhile;
endif; ?>
<?php ?>

Figure (3) – Result of single.php
5. page.php
WordPress site မှာပါဝင်သော Page များ၏ အသေးစိတ်အချက်အလက်များကို ပြသရန်အတွက်အသုံးပြုပါတယ်။
<?php get_header();
if (have_posts()) : while (have_posts()) : the_post(); ?>

 <h1>
 <?php the_title(); ?>
 </h1>

 <?php the_content(); ?>
<?php endwhile;
endif; ?>
<?php get_footer(); ?>
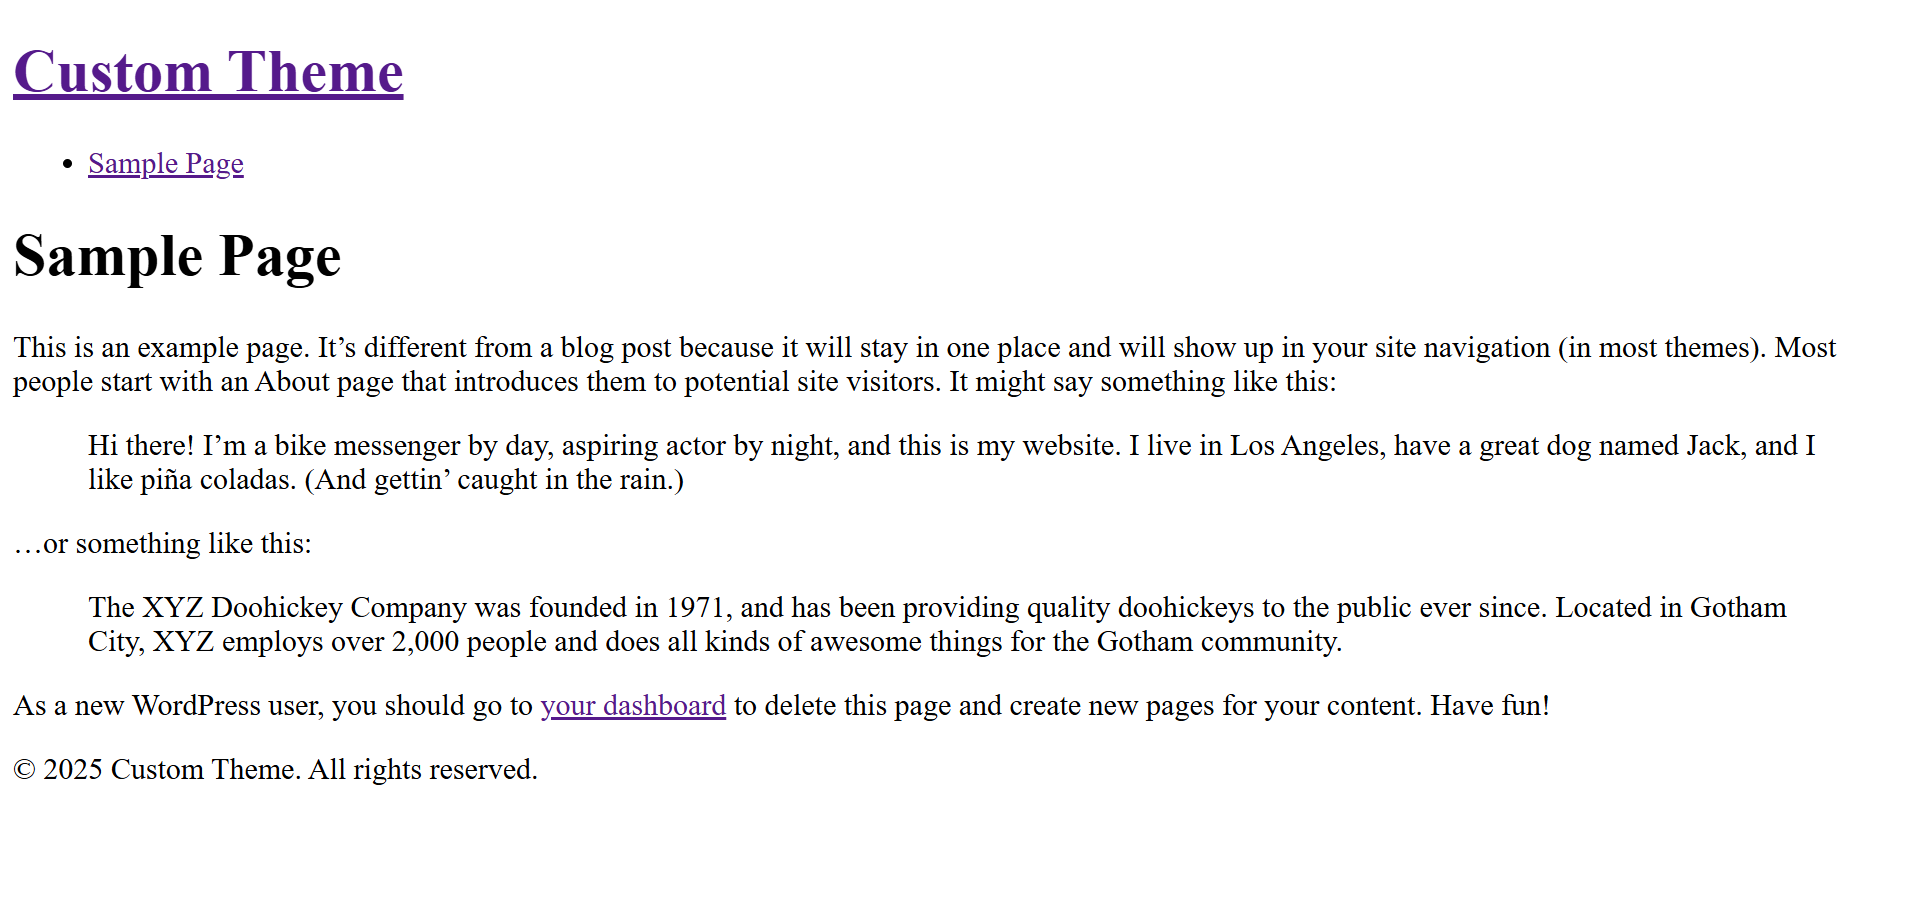
Figure (4) – Result of page.php
6. category.php
WordPress site မှာပါဝင်သော post များ၏ category အလိုက် posts များကို filter လုပ်ပြီး ပြသရန်အတွက် အသုံးပြုပါတယ်။
<?php
if (have_posts()) : while (have_posts()) : the_post(); ?>
 <h1>
 <?php the_title(); ?>
 </h1>
 <?php the_content(); ?>
<?php endwhile;
endif; ?>

Figure (5) – Result of category.php
7. author.php
WordPress site မှာပါဝင်သော post များ၏ author အလိုက်posts များကို filter လုပ်ပြီး ပြသရန်အတွက်အသုံးပြုပါတယ်။
<?php get_header();
if (have_posts()) : while (have_posts()) : the_post(); ?>
 <h1>
 <?php the_title(); ?>
 </h1>
 <?php the_content(); ?>
<?php endwhile;
endif; ?>
<?php get_footer(); ?>
https://{your-domain}/?author=1 တွင် အောက်ဖော်််ပြပါအတိုင်း မြင်ရပါမယ်။
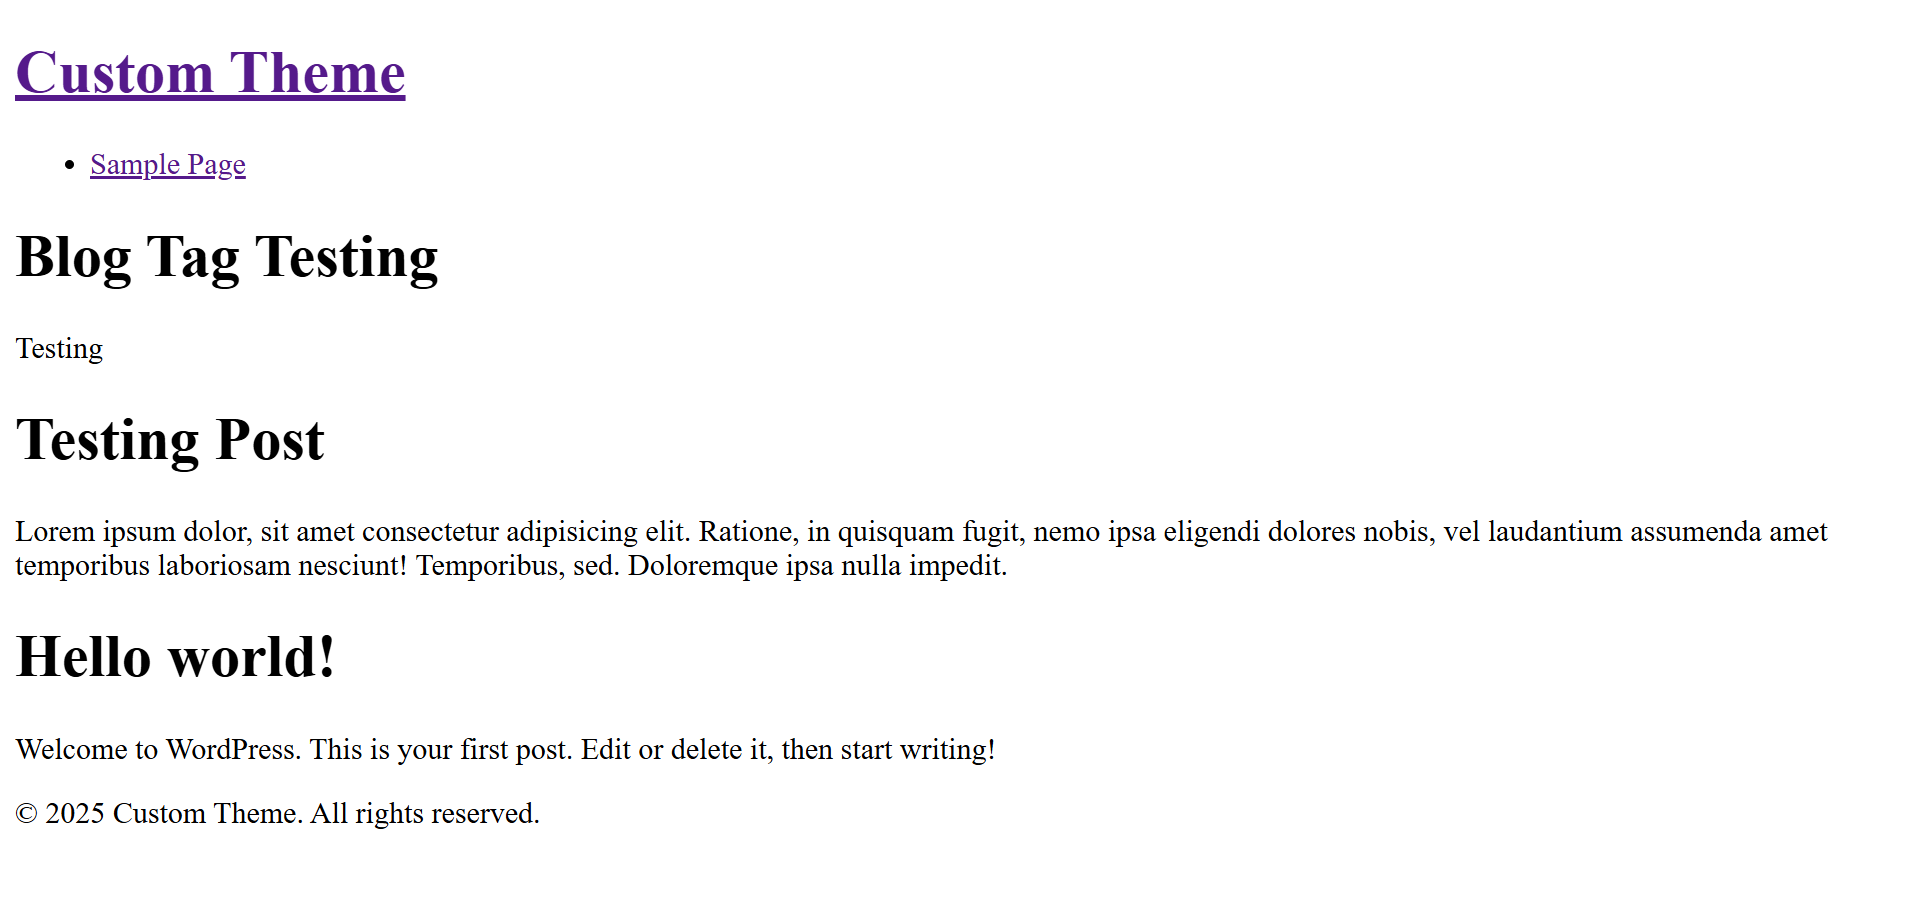
Figure (6) – Result of author.php
8. date.php
WordPress site မှာပါဝင်သော post များတွင် ရေးသားထားသော နေ့စွဲအလိုက် posts များကို filter လုပ်ပြီး ပြသရန်အတွက် အသုံးပြုပါတယ်။
<?php get_header();
if (have_posts()) : while (have_posts()) : the_post(); ?>
 <h1>
 <?php the_title(); ?>
 </h1>
 <?php the_content(); ?>
<?php endwhile;
endif; ?>
<?php get_footer(); ?>
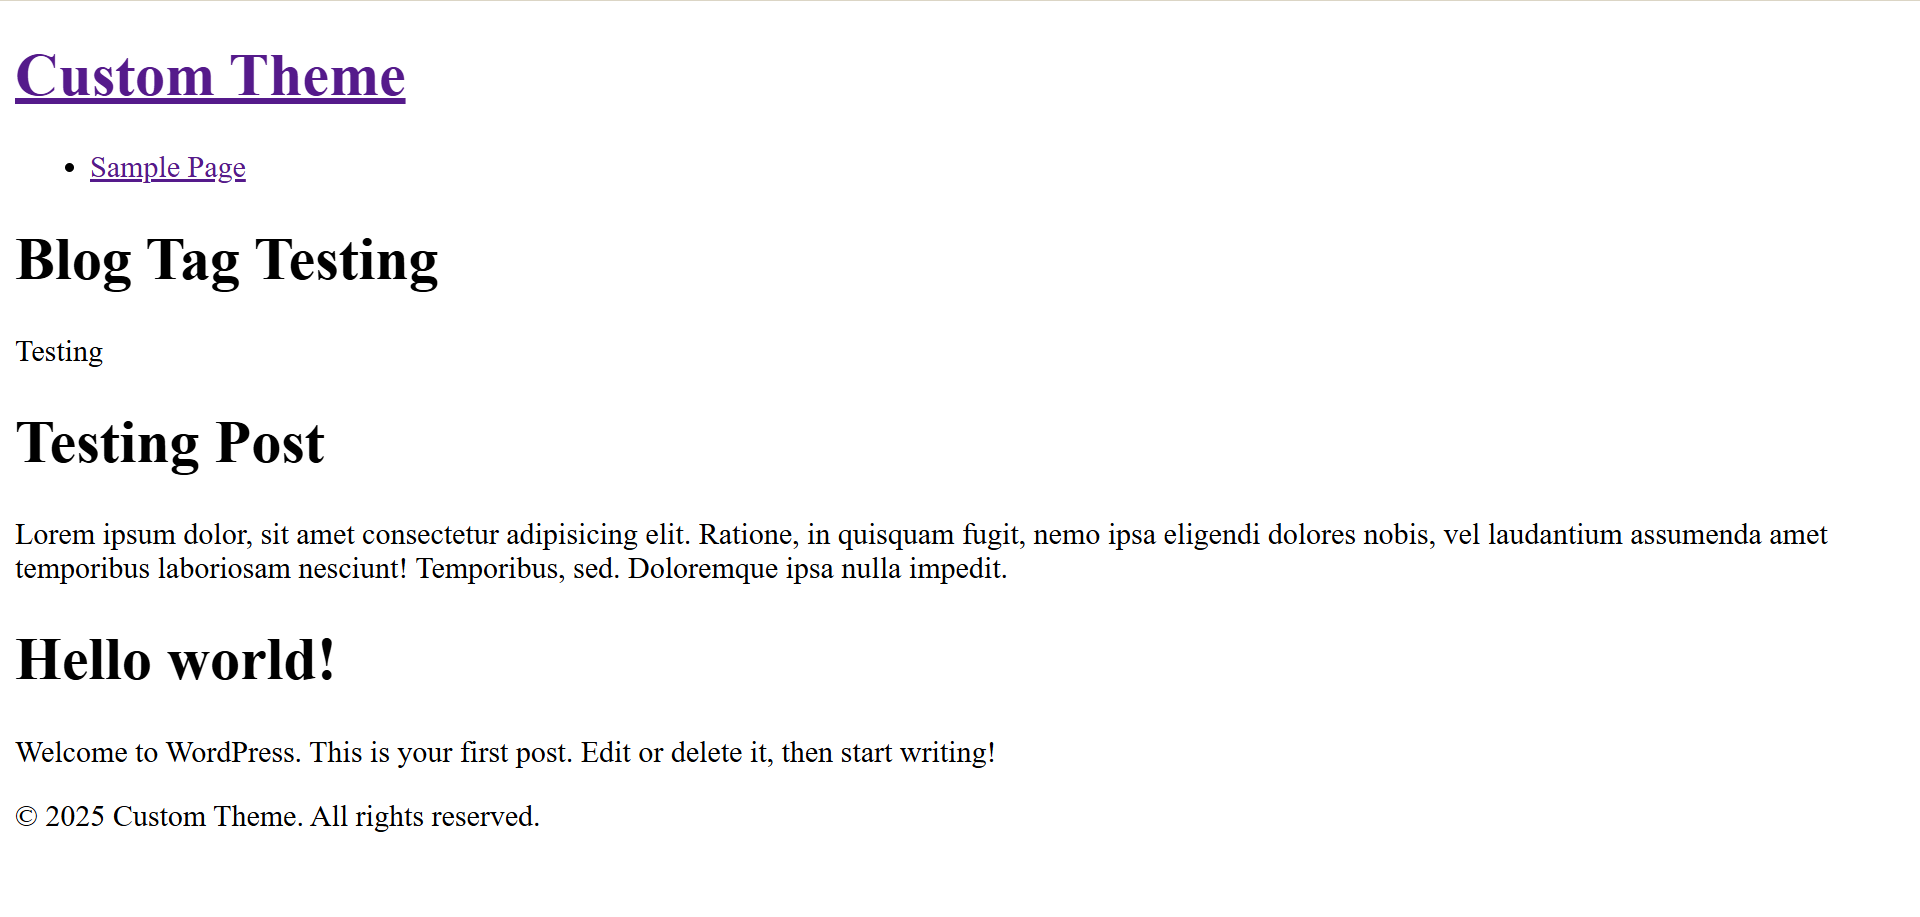
Figure (7) – Result of date.php
9. tag.php
WordPress site မှာပါဝင်သော post များ၏ tag အလိုက် posts များကို filter လုပ်ပြီး ပြသရန်အတွက်အသုံးပြုပါတယ်။
<?php get_header();
if (have_posts()) : while (have_posts()) : the_post(); ?>
 <h1>
 <?php the_title(); ?>
 </h1>
 <?php the_content(); ?>
<?php endwhile;
endif; ?>
<?php get_footer(); ?>
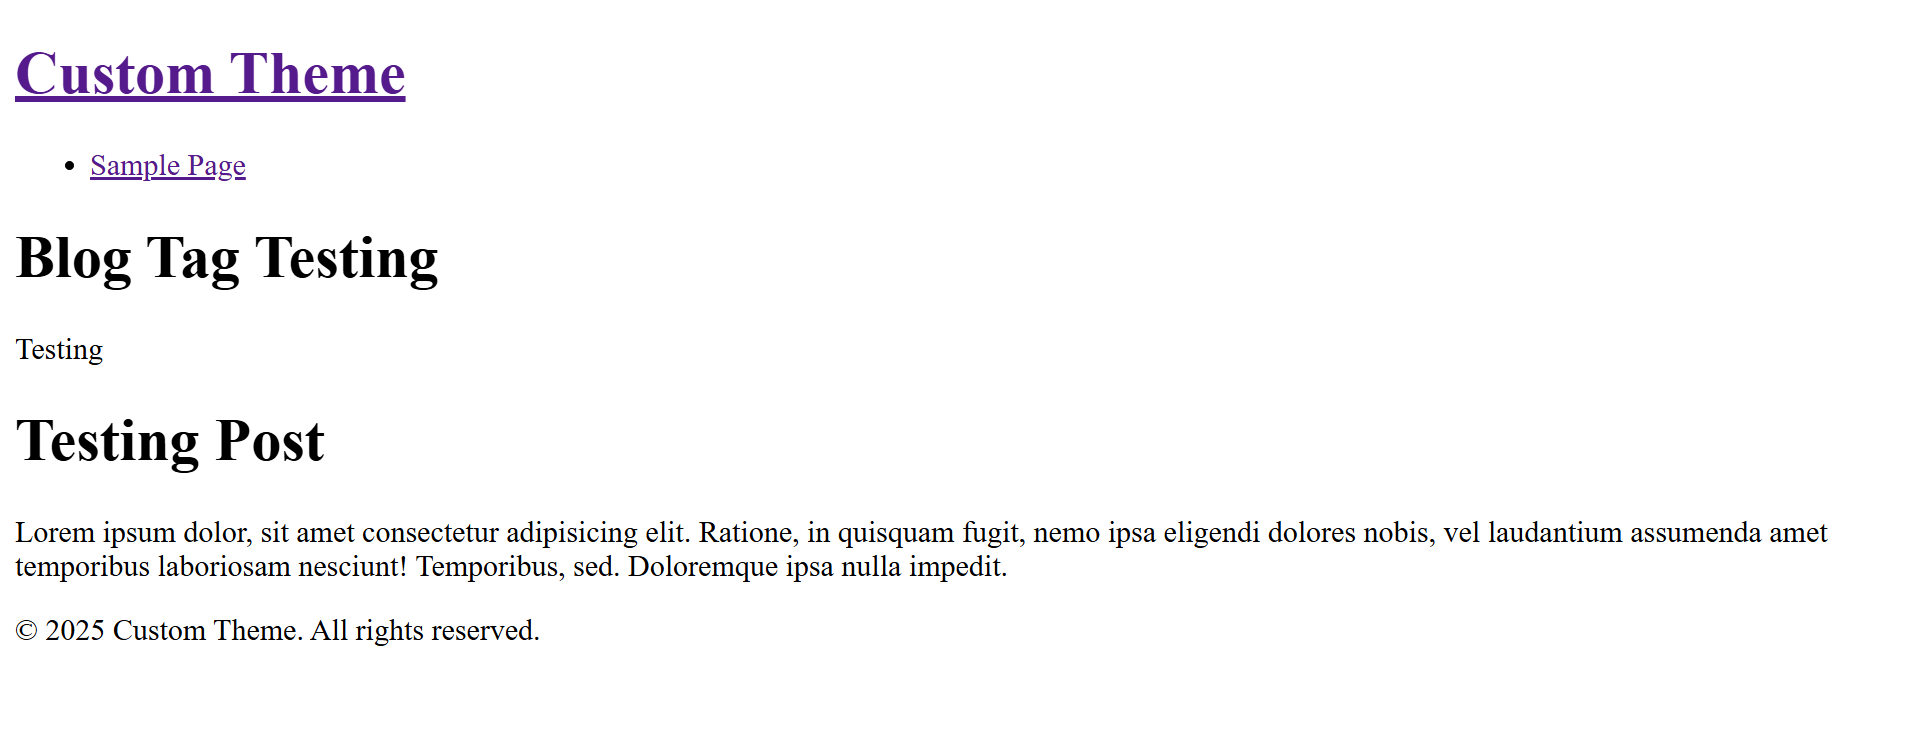
Figure (8) – Result of tag.php
အခု ရှင်းပြထားတာကတော့ WordPress custom theme တစ်ခုမှာ ဘယ် files က ဘယ်လို အလုပ်လုပ်တယ်ဆိုတာကို နမူနာ coding ဖြင့် ရှင်းပြထားခြင်းပဲဖြစ်ပါတယ်။ ထပ်တိုးပြီး မိမိတို့ လိုအပ်သော css များနှင့် javascript များကို စိတ်ကြိုက် ထည့်သွင်း customize လုပ်ကာ ရေးသားနိုင်ပါတယ်။
အဆုံးထိ ဖတ်ရှုပေးခဲ့သော စာဖတ်သူများအားလုံးကို ကျေးဇူးတင်ပါတယ်။ စာဖတ်သူများအားလုံးလည်း စိတ်ချမ်းသာ ကိုယ်ကျန်းမာပါစေကြောင်း ဆုတောင်းမေတ္တာပို့သအပ်ပါတယ်ရှင့်။ ကျေးဇူးတင်ပါတယ်ရှင့်။

