မင်္ဂလာပါခင်ဗျာ။
ကျွန်တော်ကတော့ Spiceworks Myanmar ကုမ္ပဏီတွင် Web Designer အဖြစ် ဝင်ရောက် လုပ်ကိုင်လျက်ရှိသော စိုင်းအောင်နိုင်ဦး ဖြစ်ပါတယ်။ ဒီတစ်ပတ်မှာတော့ MovableType နဲ့ ပတ်သက်ပြီး ဝေမျှပေးချင်ပါတယ်ခင်ဗျ။
MovableType Introduction ကို မဆုရည်ထွန်းက ဝေမျှပေးသွားပြီဖြစ်သည့်အတွက် ကျွန်တော်က အောက်ပါ ခေါင်းစဉ်နဲ့ ဆက်ပြီး Sharing လုပ်ပေးသွားပါမယ်ဗျ။
1. How to add your exciting code into a Movabletype?
2. How to access a Style CSS?
3. How to upload your file?
အကယ်၍ MovableType Introduction ကို မဖတ်ရသေးပါက အောက်ဖော်ပြပါ link ကနေမှ ဝင်ရောက်ဖတ်ရှုနိုင်ပါတယ်ဗျ။
How to add your exciting code into a Movabletype?
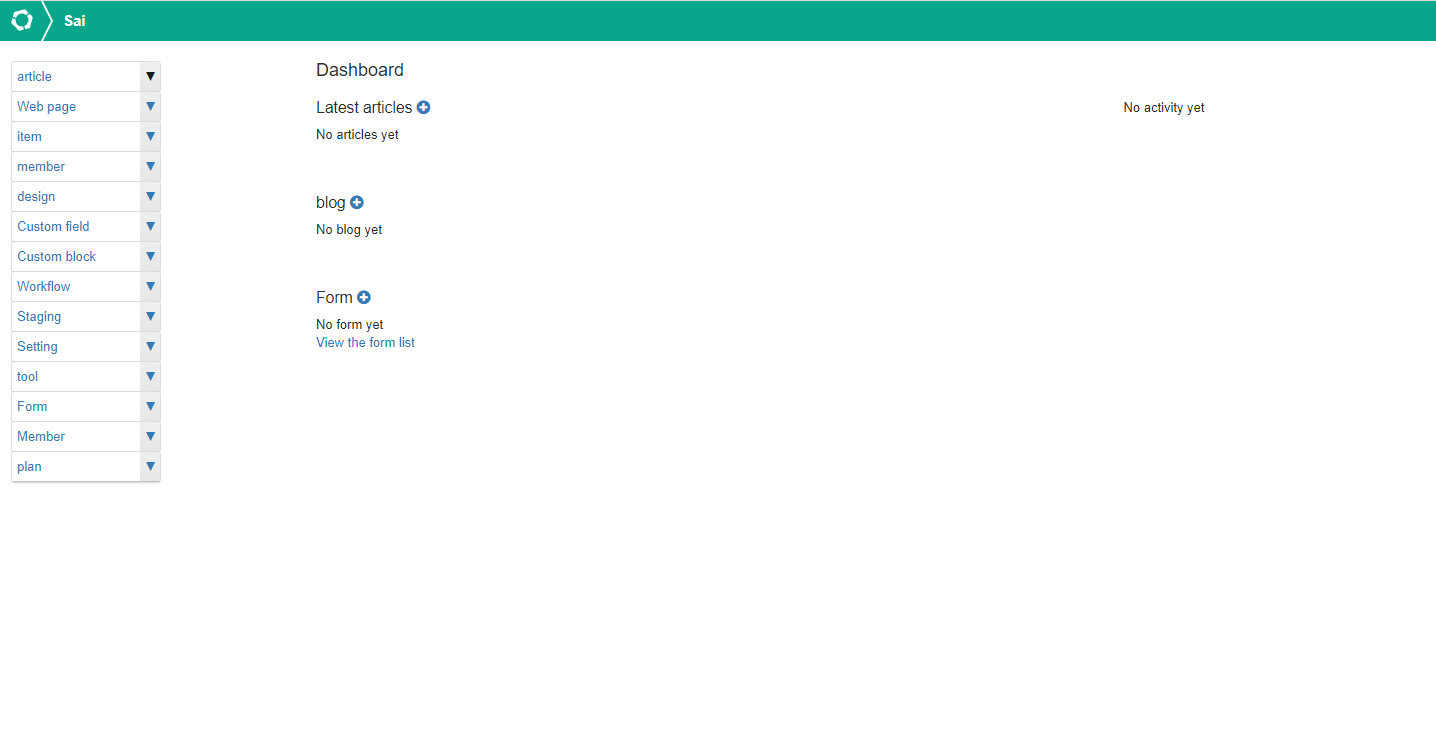
MovableType Account ကို Create လုပ်ပြီးပါက Dashboard ကနေ Website Create လုပ်ပါ။
Create လုပ်ပြီးလျှင် မိမိ Project Dashboard ကို ရောက်ပါမယ်။
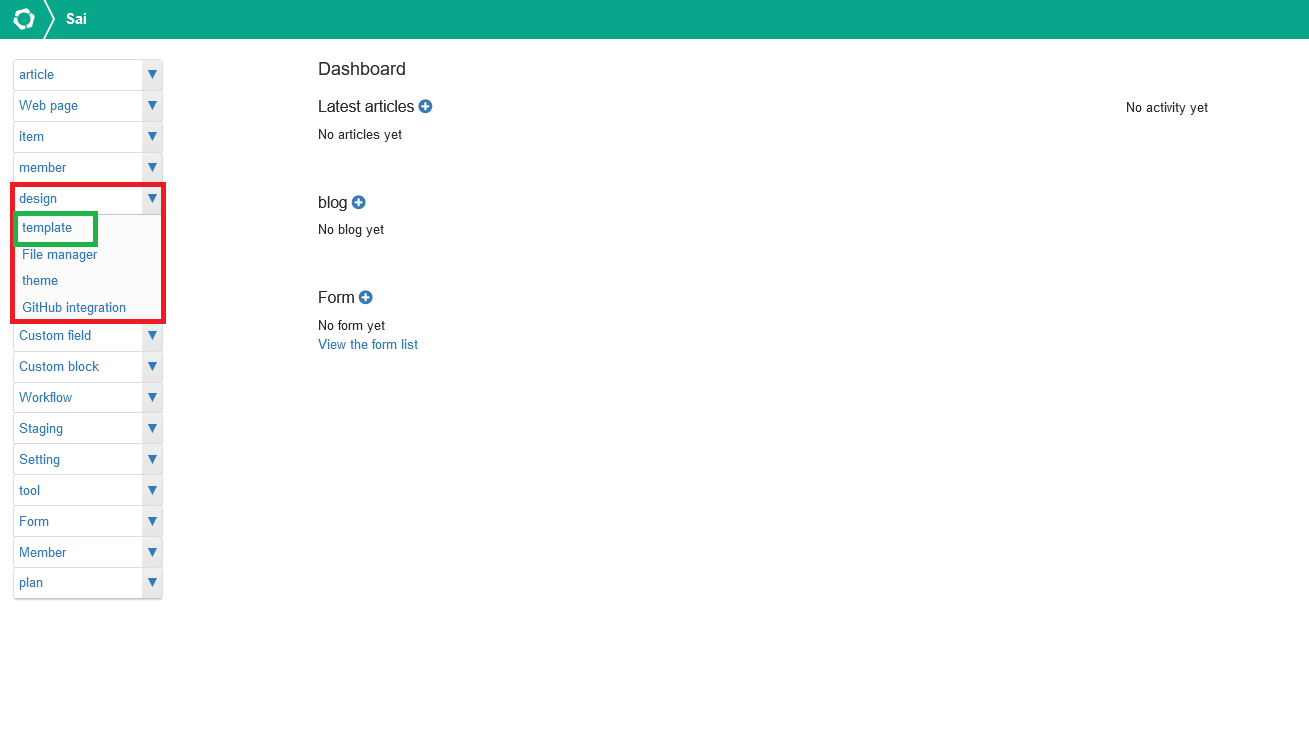
ပြီးလျှင် Left-Side Menu က Design ကို ဖွင့်ပါ။ Template ကို နှိပ်ပါ။
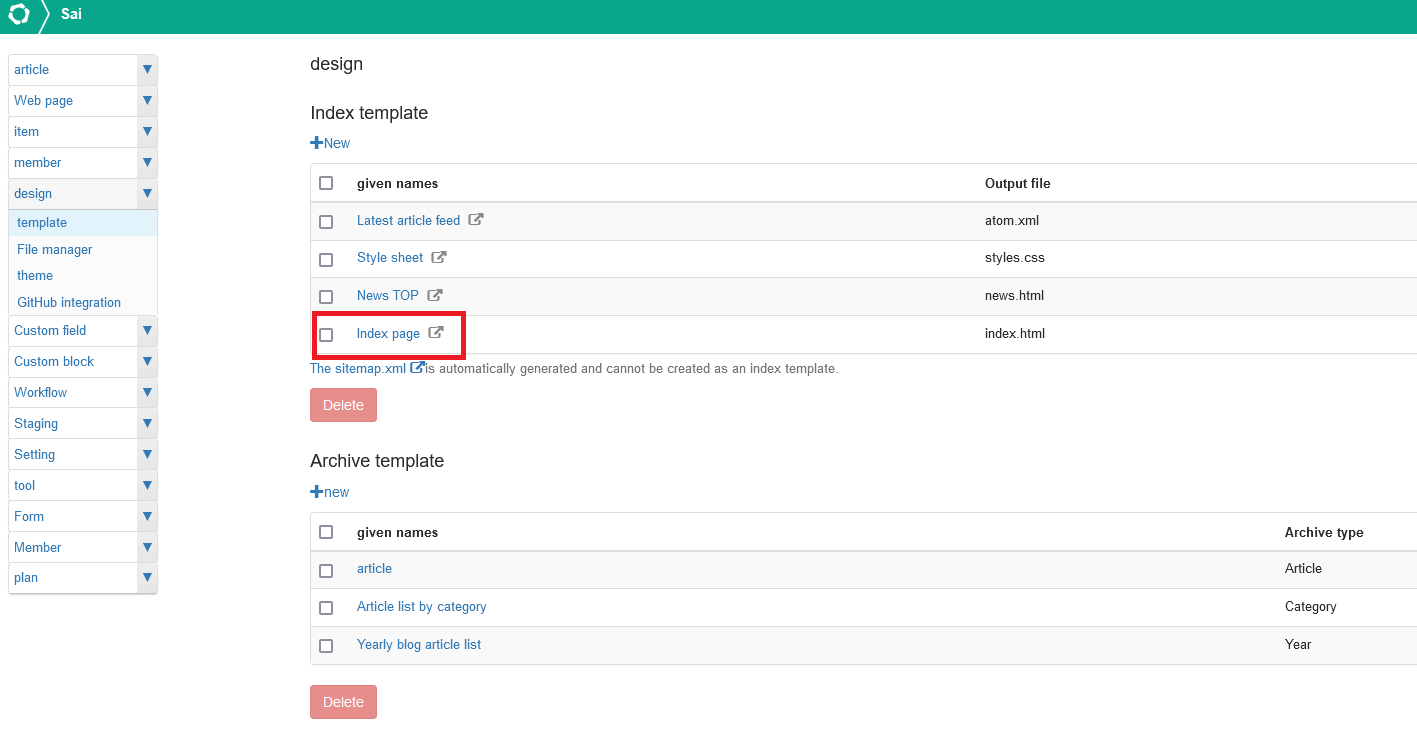
Index page ကို နှိပ်ပါ။ Index page သည် မိမိ ရွေးထားသော Theme ရဲ့ Top Page ဖြစ်ပါတယ်။
ပြီးလျှင် မိမိ ရွေးထားသော theme ရဲ့ html code တွေ တွေ့ရပါမယ်။ ထို code တွေကို ဖျက်ပစ်ပါ။
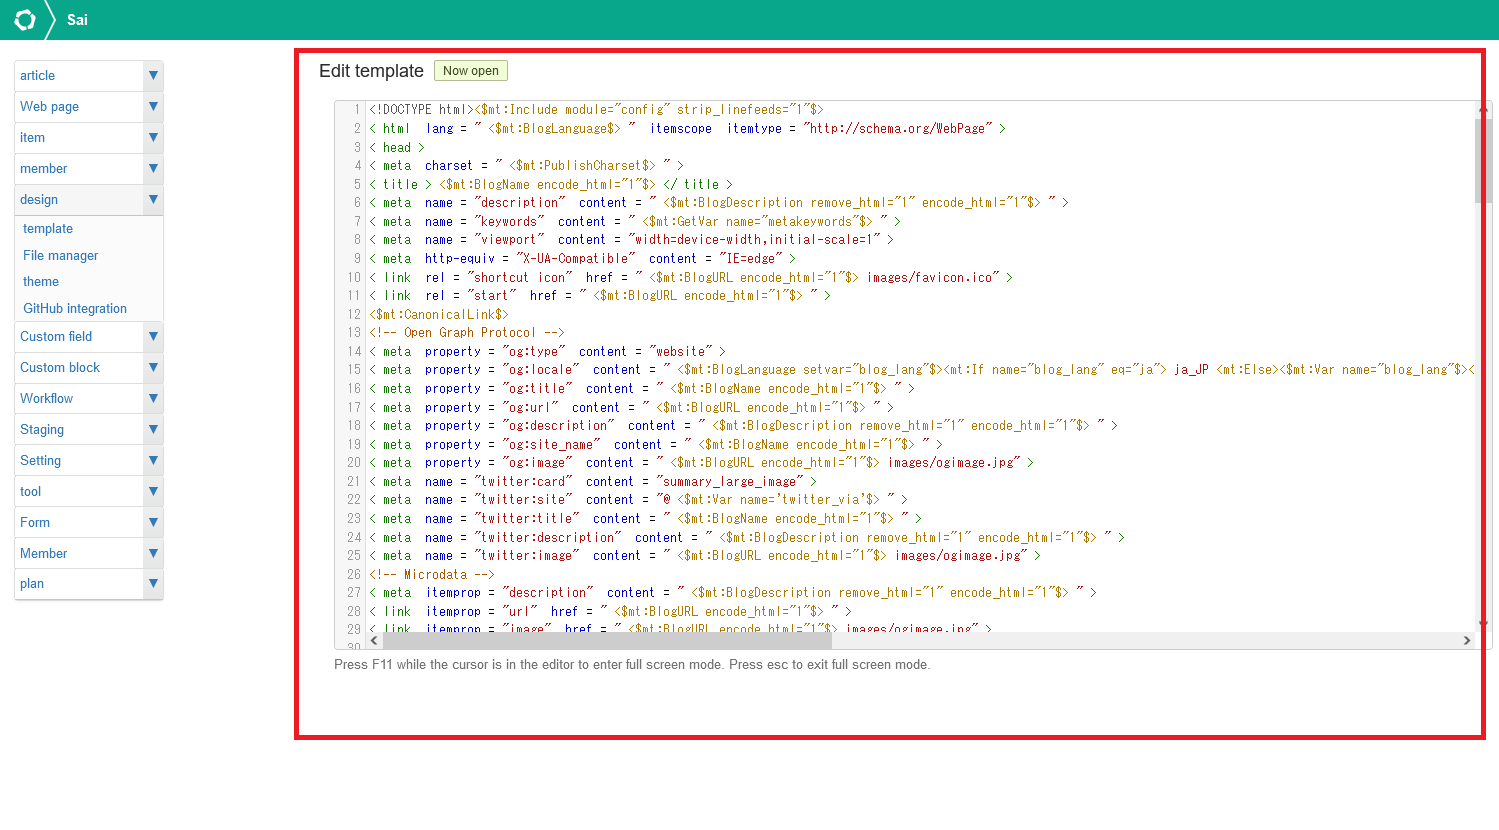
ဖျက်ပြီးလျှင် မိမိ Local မှ create လုပ်ထားသော code ကို index page ထဲသို့ copy and paste လုပ်ပါ။
Paste လုပ်ပြီးလျှင် ညာဘက်ခြမ်းက Update button ကို နှိပ်ပါ။ ပြီးလျှင် Verification Button ကို နှိပ်ပြီး code ကို Run ကြည့်ပါ။
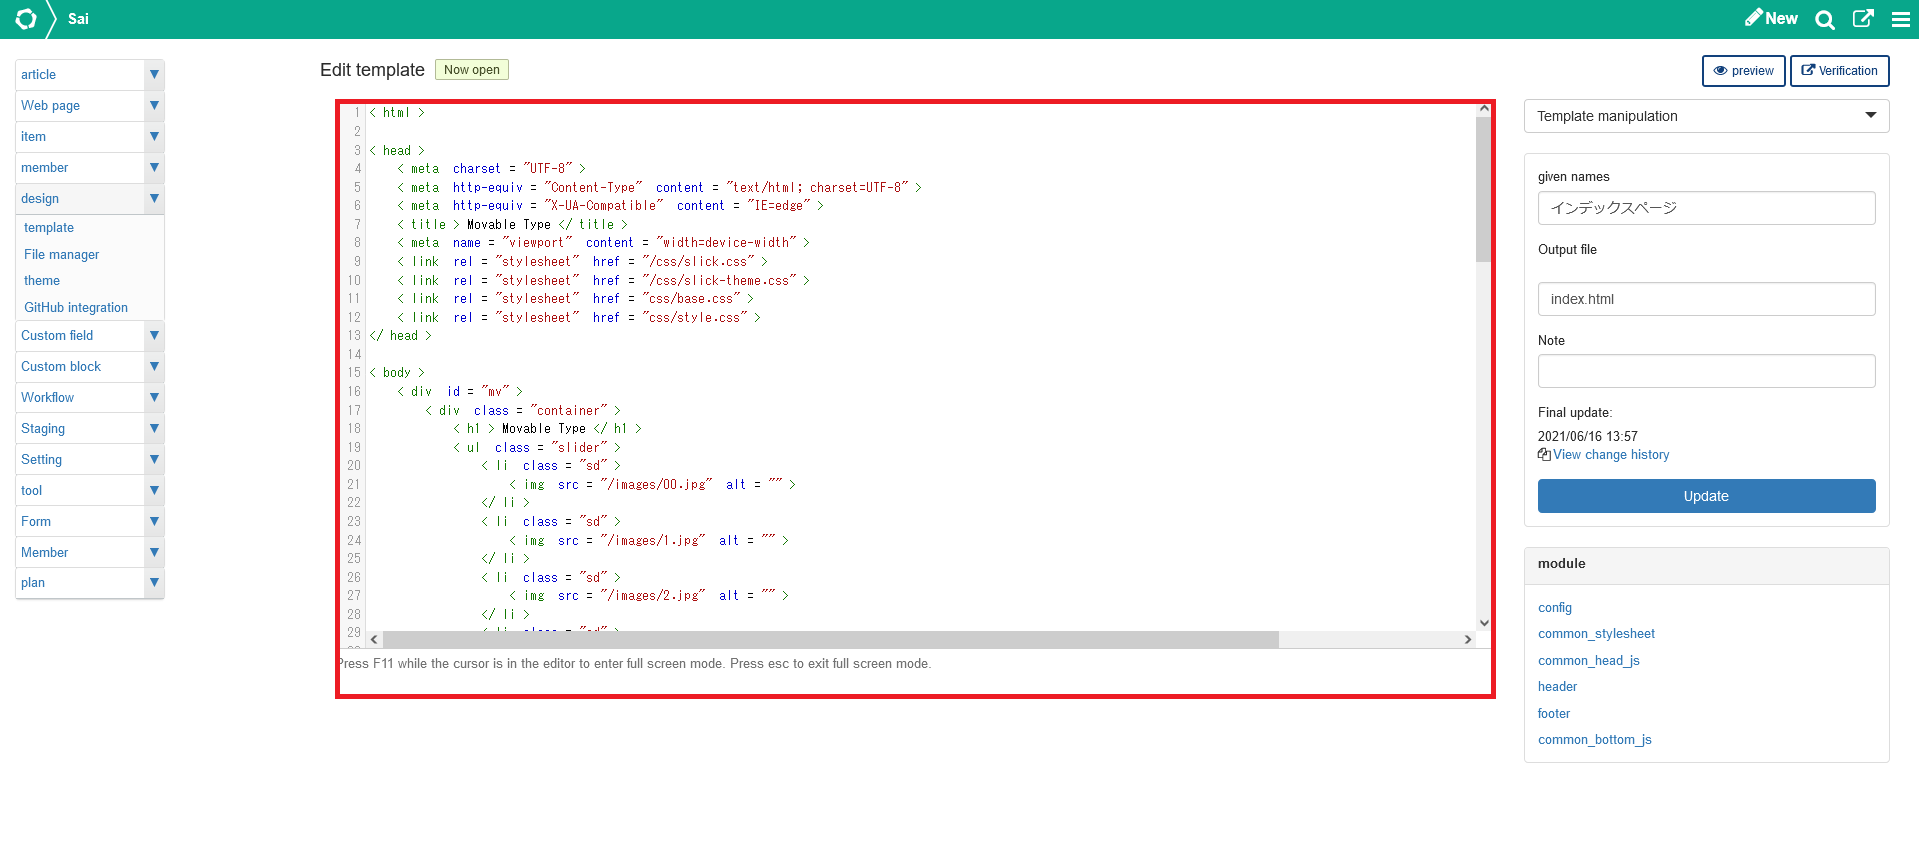
CSS မချိတ်ရသေးသည့်အတွက် ပုံတွင်ပြထားသည့်အတိုင်း layout ပျက်နေပါမယ်။

How to access a Style CSS? /How to upload your file?
CSS file ချိတ်ဖို့အတွက် File Manager ကို နှိပ်ပါ။
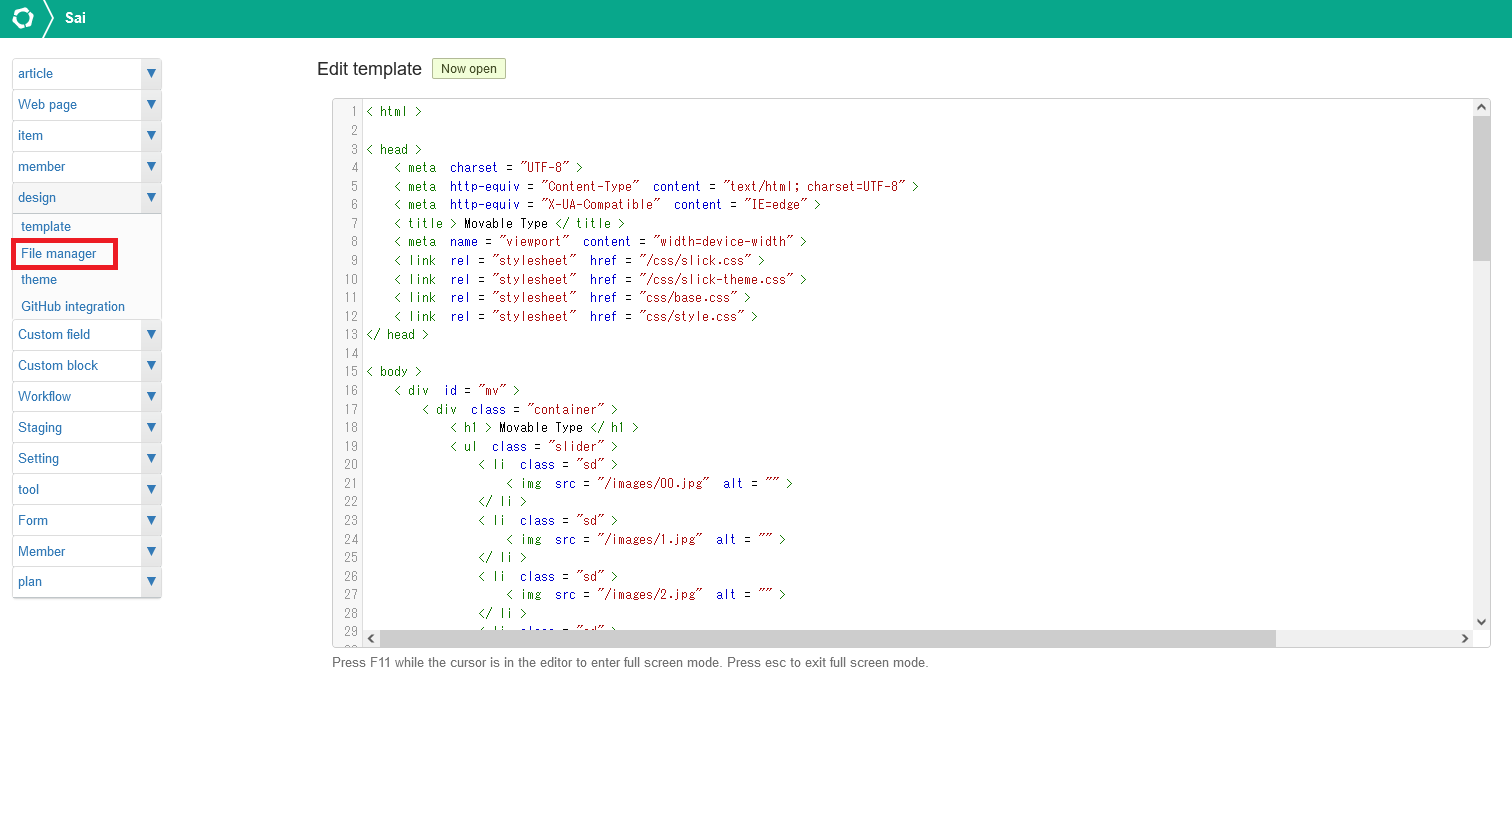
ပြီးလျှင် Plus Icon ကို နှိပ်ပြီး css folder ကို create လုပ်ပါ။

CSS folder ရလာပြီဆိုလျှင် Plus Icon ကိုနှိပ်ပါ။ ပြီးလျှင် Browse ကို ထပ်နှိပ်ပါ။ မိမိ Local မှ လိုအပ်သော css file ကို Upload လုပ်ပေးပါ။
JS file နှင့် Images များကိုလည်း ထိုနည်းတူ သူ့ Folder အလိုက် Local ကနေမှ Upload လုပ်ပေးပါ။

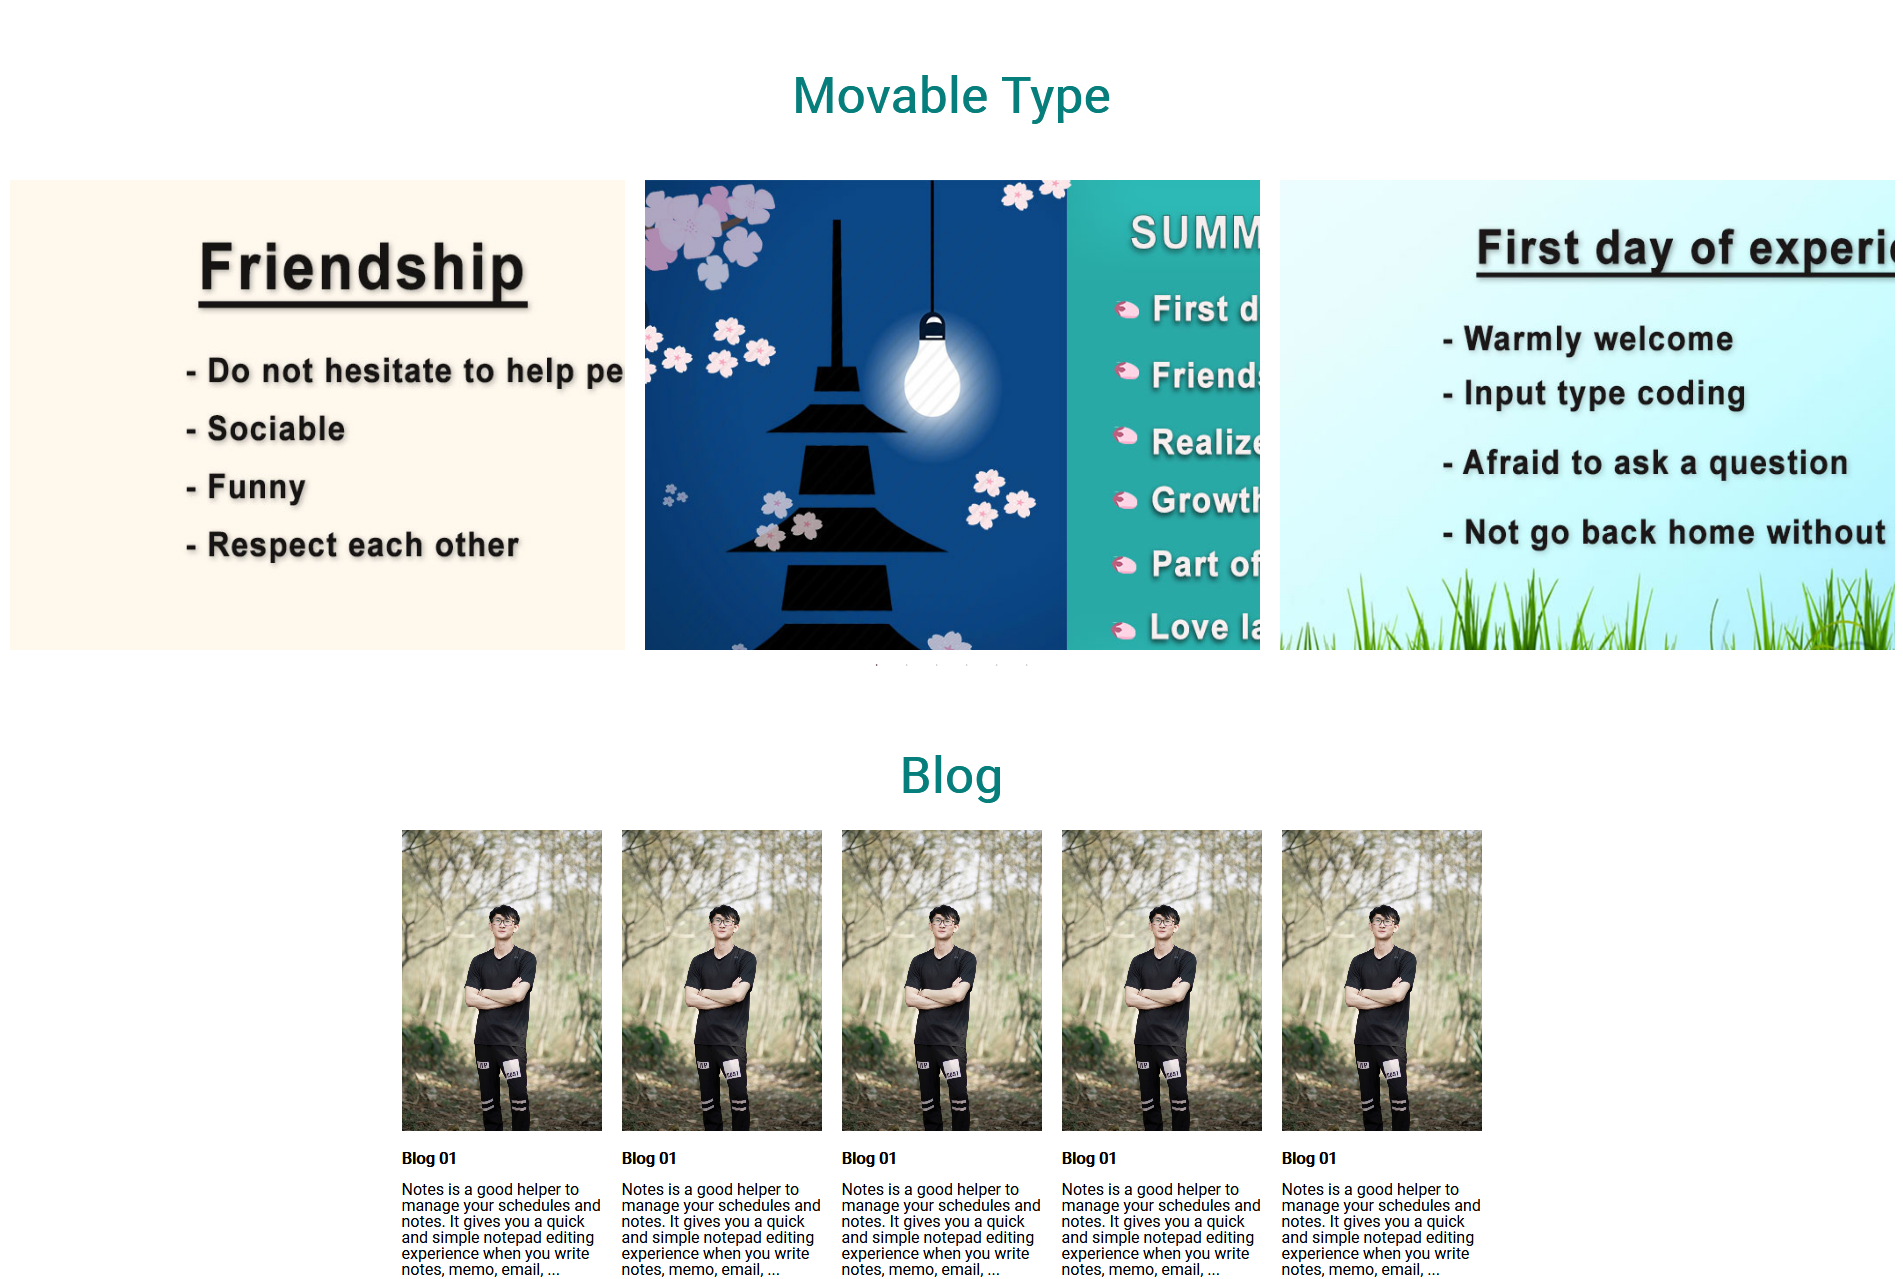
Page ကို ပြန် Run ပါက ပုံတွင်ပြထားသည့်အတိုင်း ရပါမယ်။
အချိန်ပေးပြီး ဖတ်ရှုပေးသည့်အတွက် ကျေးဇူးတင်ပါတယ်ဗျ။